Floor 1, No. 3, Shugang Avenue, Hongmei Town, Dongguan City, Guangdong Province, China

20 years environmental test chamber manufacturer3000+ customer deliverables worldwide           Email: shirley@deruitest.com
WhatsApp Consultation:+86 135 2795 8363
Thermal Shock Test ChamberThermal Shock Test Chamber

Thermal Shock Test Chamber Supplier | Rapid Transition Systems

2-zone and 3-zone air-to-air thermal shock chambers designed for rapid temperature transfer testing to MIL-STD-810G.

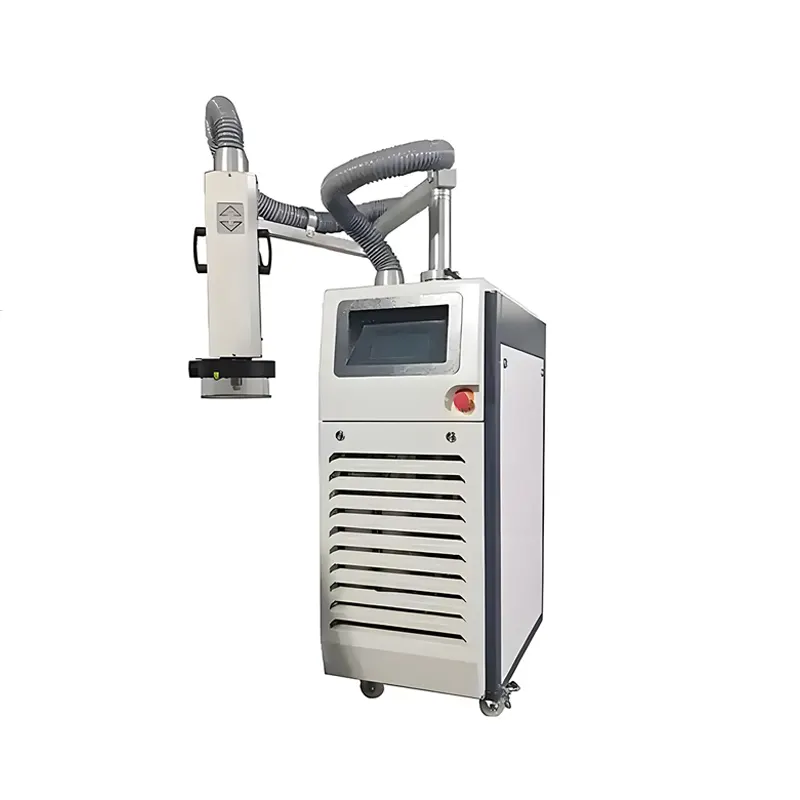
Chip High And Low Temperature Shock Heat Flux Meter

Chip High And Low Temperature Shock Heat Flux Meter

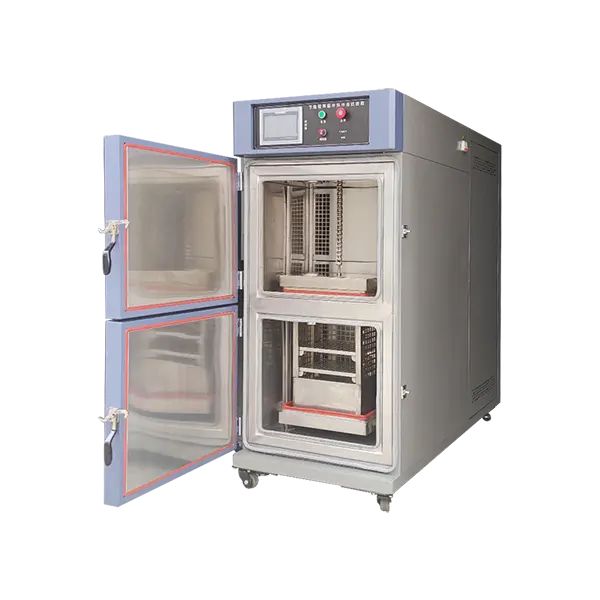
Two-Zone Thermal Shock Test Chamber

Two-Zone Thermal Shock Test Chamber

Energy-Saving Temperature Shock Test Chamber

Energy-Saving Temperature Shock Test Chamber

100L Temperature Shock Test Chamber​

100L Temperature Shock Test Chamber​

50L Thermal Shock Testing Chamber

50L Thermal Shock Testing Chamber

Define Thermal Shock Performance by Transition and Recovery

Select thermal shock equipment from the required transition method, loaded recovery, dwell conditions and specimen configuration. Hot and cold zone setpoints alone do not prove that the specimen receives the required thermal exposure.

Two-Zone Thermal Shock Chambers

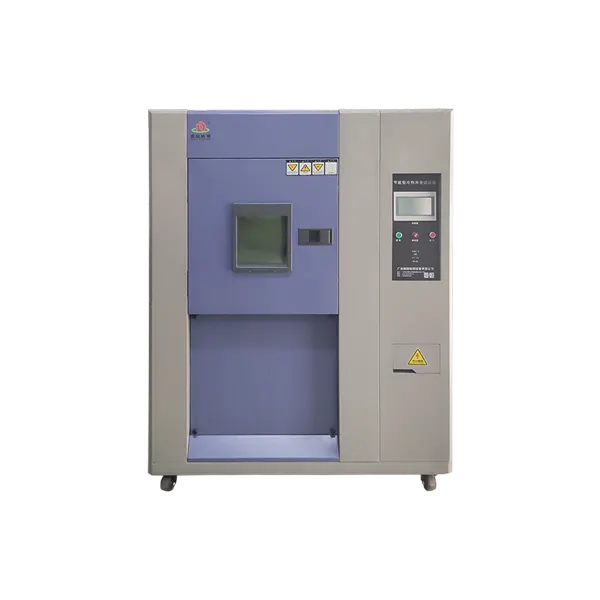
Two-zone systems transfer a basket between hot and cold zones; three-zone systems keep the specimen stationary and switch conditioned airflow. Choose from specimen movement, monitoring connections, mass, orientation and transition requirements.

Compare Thermal Shock Structures →


Applicable Thermal Shock Procedure

Confirm whether the requirement is air-to-air thermal shock, temperature cycling or another defined method. Record the standard revision, hot and cold conditions, dwell definition, transition limit and number of cycles before selecting equipment.

Review Thermal Shock Test Methods →

Transfer Time and Loaded Recovery

Transfer mechanism speed is not the same as temperature recovery. Ask for the time required for the loaded test zone to return within tolerance after transition, including the specimen and fixture thermal mass.

Evaluate Recovery Performance →

Specimen Mass, Basket and Monitoring

Provide sample dimensions, total mass, basket loading, fixture material and monitoring cables. These determine basket size, zone capacity, airflow obstruction and whether connected or energized testing is practical.

Define the Test Load →

Failure Modes and Test Applications

Thermal shock can reveal solder-joint fatigue, seal leakage, delamination and expansion mismatch in electronics, automotive components and aerospace assemblies. The intended failure mechanism should guide severity and instrumentation.

Plan Electronics Thermal Shock Testing →

Acceptance and Repeatability

Define sensor positions, zone stability, transition verification, loaded recovery, cycle records, alarms and acceptance documentation. Verify the performance that matters to the method rather than relying only on unloaded catalogue data.

Request a Thermal Shock Review →

Which Thermal Shock Structure Fits Your Method?

Send the standard, hot and cold conditions, dwell and transition requirements, specimen dimensions and mass, fixtures, monitoring connections and cycle count.

Request a Thermal Shock Configuration Review Download Thermal Shock Catalogs

Thermal shock equipment selection

Match the Shock Method to the Specimen and Equipment

Thermal shock selection begins with the specified hot and cold exposures, transfer mechanism, dwell definition and the temperature response under the real specimen load. The pages below cover different chamber sizes and buying priorities, plus one chip-focused measurement instrument. A product name alone does not establish compliance with every shock procedure.

Your selection question Start with this page Confirm before quotation
Compact hot–cold exposure for small parts 50 L Thermal Shock Testing Chamber Check basket envelope, fixture and cable clearance, thermal mass, hot/cold exposure points, transfer and loaded recovery. Nominal litres are not usable specimen capacity.
More basket space for assemblies or batch testing 100 L Temperature Shock Test Chamber Provide quantity, dimensions, total loaded mass and throughput. Compare loaded performance and handling access rather than assuming a larger volume gives a faster transition.
A defined moving-basket, two-zone architecture Two-Zone Thermal Shock Test Chamber Confirm that the specimen may move between stabilized zones, and define basket payload, orientation, feedthroughs, transfer interval and recovery measurement position.
Operating energy is a purchasing criterion Energy-Saving Temperature Shock Test Chamber Request measured kWh against a defined reference cycle, specimen load, ambient condition and cooling method. Lower nameplate power alone is not proof of lower energy per valid test.
Chip-level thermal-response or heat-flux measurement Chip High/Low Temperature Shock Heat Flux Meter Treat this as a measurement-equipment enquiry, not an interchangeable chamber-size option. Specify the device, measurement interface, temperature programme and required heat-flux data.
Do not equate transfer time with specimen temperature change. Basket motion, chamber-air recovery and the specimen's own response are different measurements. Confirm the exact method and edition, sensor positions, load and acceptance criteria; a general reference to IEC, JEDEC or MIL-STD does not certify every configuration. If the requirement is a controlled ramp in one workspace rather than hot–cold transfer, compare the temperature test chamber range.

What to Send for a Thermal-Shock Configuration Review

A comparable proposal needs the complete exposure sequence and the conditions under which performance will be accepted.

Method
Standard, edition, procedure and customer-specific deviations
Exposure
Hot/cold points, dwell basis, transfer limit, cycle count and sequence
Specimen
Dimensions, mass, quantity, fixture, heat output and permitted movement
Measurement
Air and specimen sensors, loaded recovery tolerance and data records
Interfaces
Powered operation, signals, moving cables and feedthroughs
Facility & evidence
Voltage, cooling, access, FAT protocol and energy baseline if relevant

Send the test profile and specimen details to request a DERUI thermal-shock configuration review →

WhatsAppWhatsApp
WhatsAppWhatsApp
WhatsApp
MessageMessage

Request a Quote