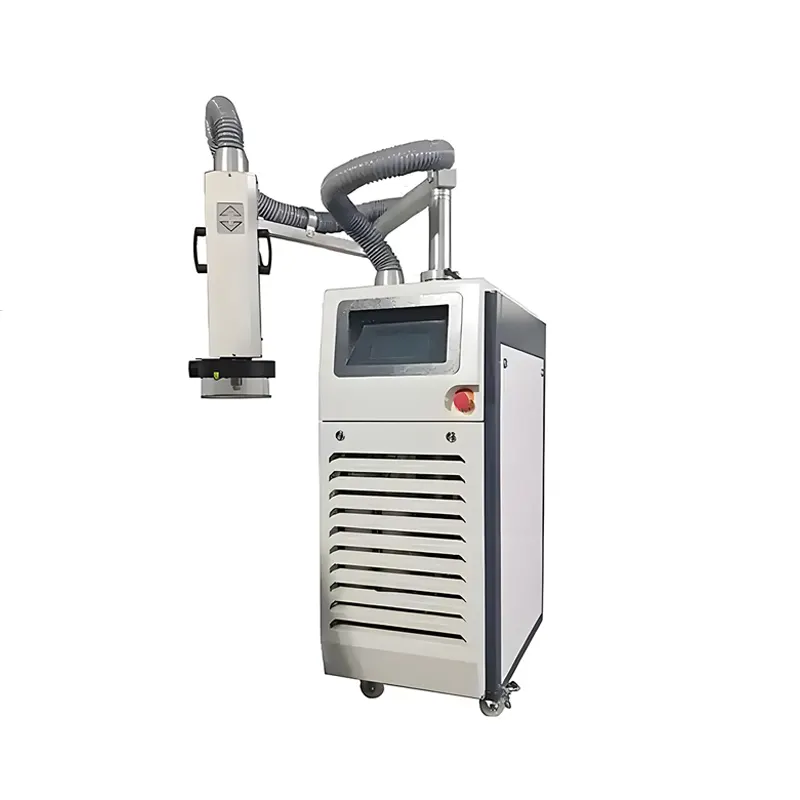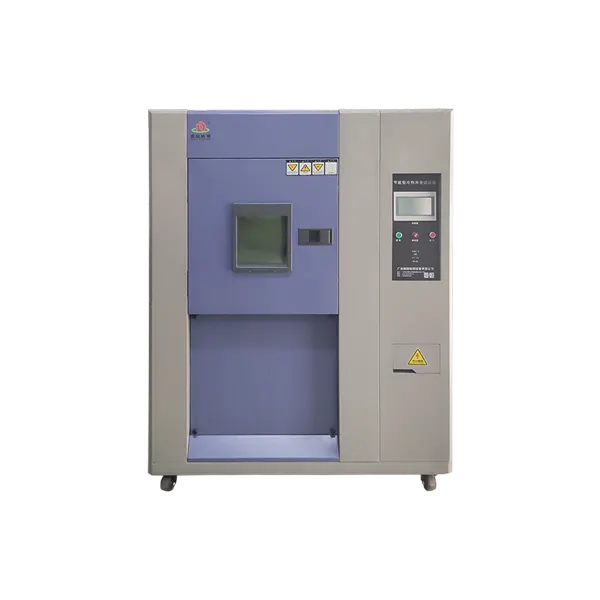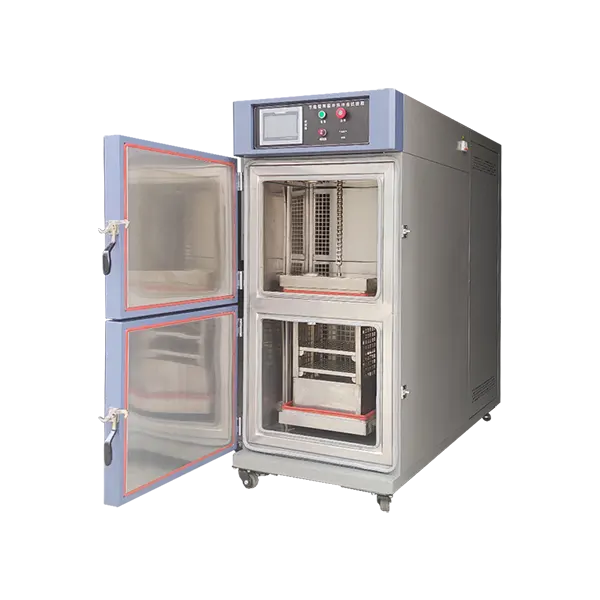


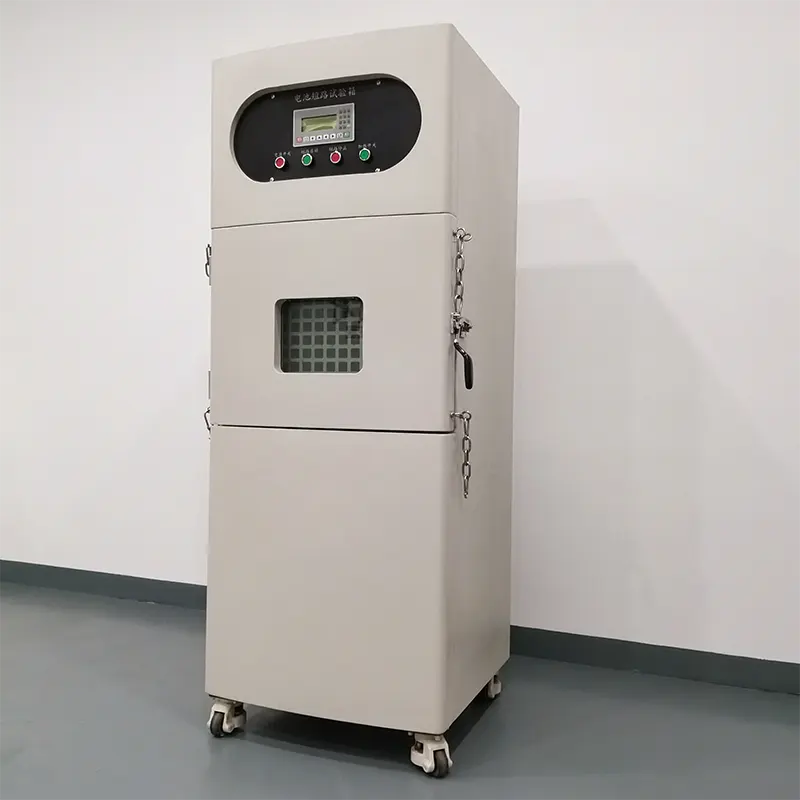
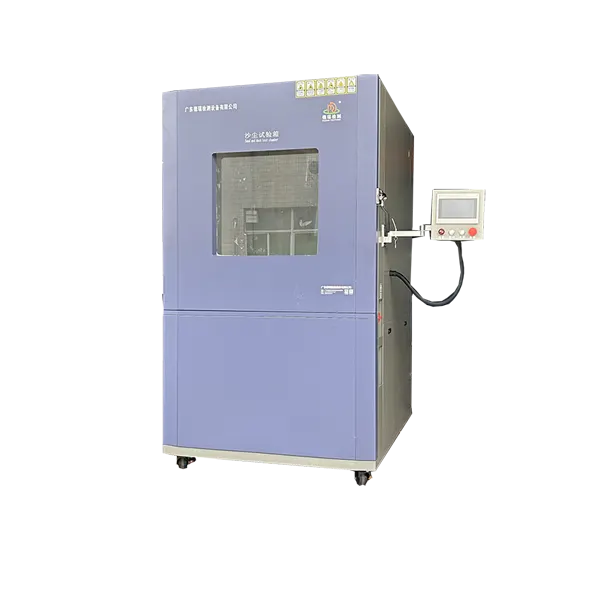

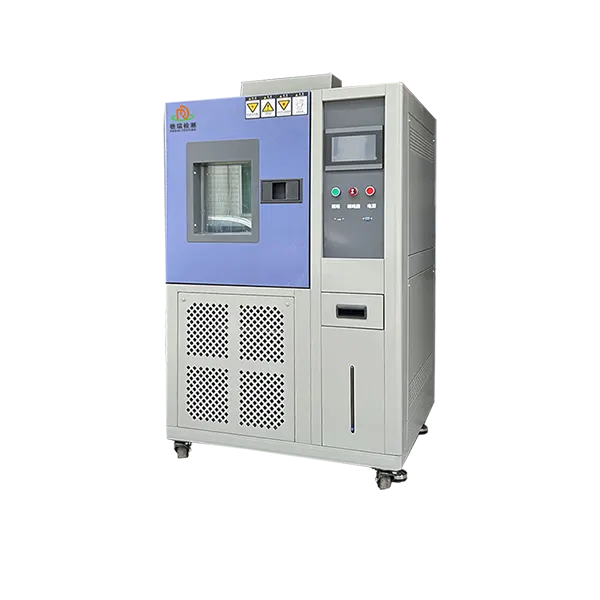
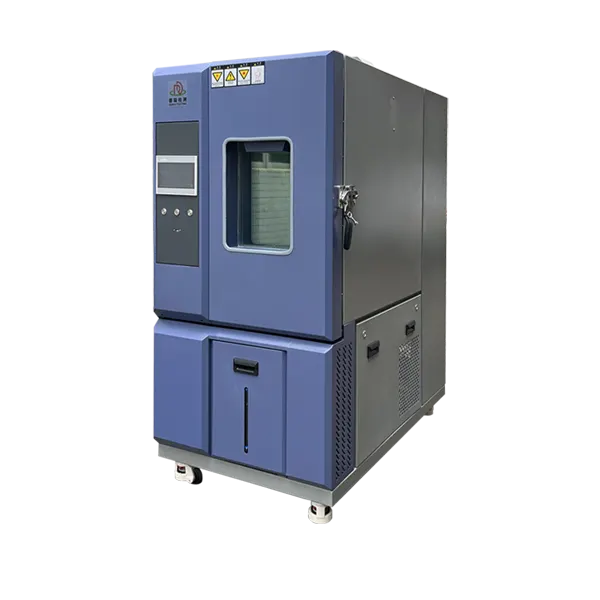
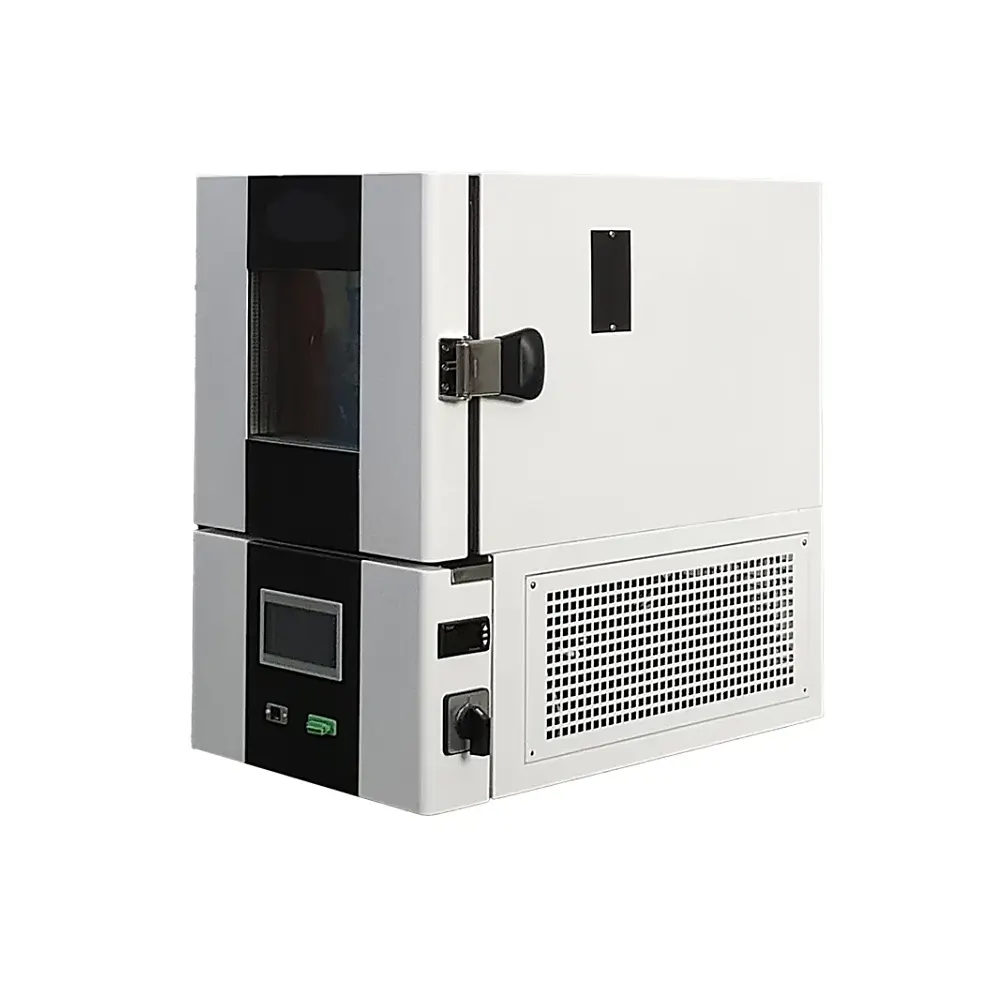
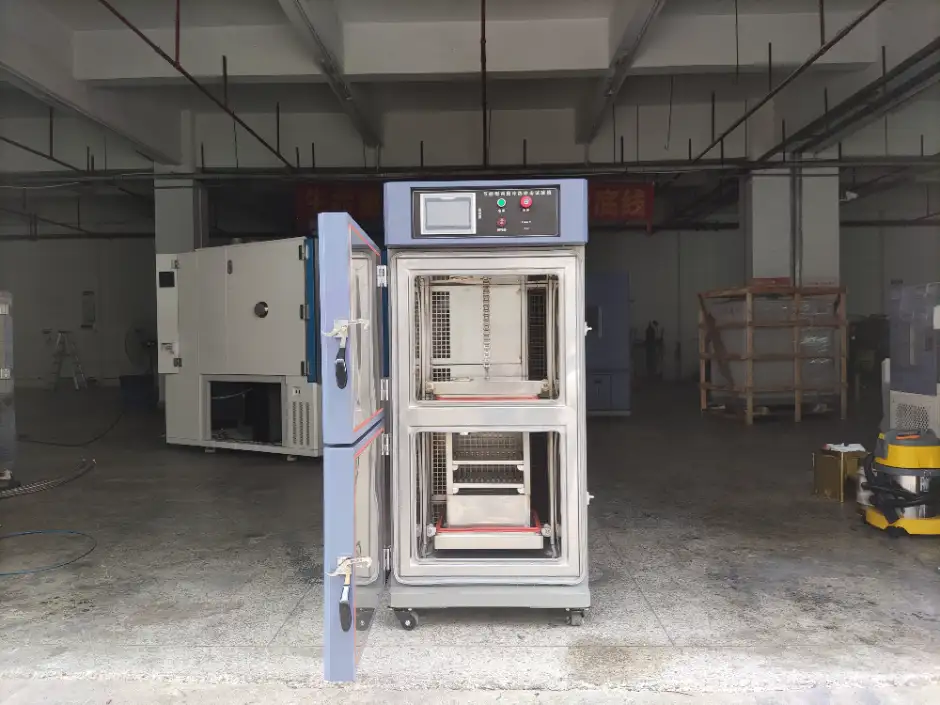
High-performance vertical two-zone thermal shock test chamber engineered for environmental stress screening (ESS) and thermal cycling reliability testing. Features a rapid pneumatic basket transfer system (< 10 seconds) to subject electronic components, automotive parts, and aerospace materials to extreme temperature transitions (-80°C to +220°C) without structural damage. Fully compliant with MIL-STD-810G, MIL-STD-883, JEDEC JESD22-A104, and IEC 60068-2-14. ISO 9001 & CE certified factory-direct supply.
 🌟 Product Features & Technical Advantages
1. Vertical Two-Box Architecture
Space-saving vertical orientation featuring an advanced precision ball-shaft driving mechanism for smooth, reliable, and vibration-free basket movement.
2. Rapid Pneumatic Transfer (< 10s)
High-speed pneumatic transfer moves the sample basket between hot and cold boxes in less than 10 seconds, meeting strict military thermal shock testing chamber standards.
3. Wide Temperature Capabilities
Hot Zone: +50°C to +220°C (Optional up to +250°C)
Cold Zone: -80°C to +70°C
4. Heavy-Duty Basket Payload
Standard 2-zone basket supports up to 20 kg payload; 3-zone handles 50 kg, with custom high-torque tracks available for heavier specimens.
5. World-Class Refrigeration Core
Premium environmental thermal shock test equipment featuring GEA Bock / Bitzer compressors, Danfoss expansion valves, and Schneider electrics for 24/7 durability.
6. Smart PLC & Ergonomics
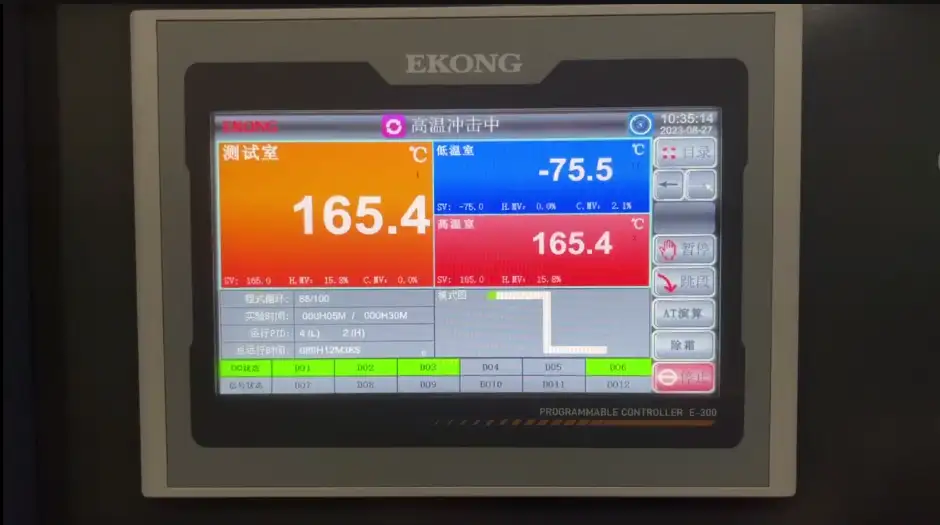
Color touchscreen, funnel-shaped Philips illuminated window, bottom drainage channels, and large lead wire ports with silicone plugs.
📊 Technical Specifications Table
| Parameter / Specification | Technical Details (DR-TS Series) |
|---|---|
| System Layout | cURL Too many subrequests by single Worker invocation. To configure this limit, refer to https://developers.cloudflare.com/workers/wrangler/configuration/#limits |
| cURL Too many subrequests by single Worker invocation. To configure this limit, refer to https://developers.cloudflare.com/workers/wrangler/configuration/#limits | cURL Too many subrequests by single Worker invocation. To configure this limit, refer to https://developers.cloudflare.com/workers/wrangler/configuration/#limits |
| cURL Too many subrequests by single Worker invocation. To configure this limit, refer to https://developers.cloudflare.com/workers/wrangler/configuration/#limits | -80°C to +70°C |
| cURL Too many subrequests by single Worker invocation. To configure this limit, refer to https://developers.cloudflare.com/workers/wrangler/configuration/#limits | cURL Too many subrequests by single Worker invocation. To configure this limit, refer to https://developers.cloudflare.com/workers/wrangler/configuration/#limits |
| cURL Too many subrequests by single Worker invocation. To configure this limit, refer to https://developers.cloudflare.com/workers/wrangler/configuration/#limits | cURL Too many subrequests by single Worker invocation. To configure this limit, refer to https://developers.cloudflare.com/workers/wrangler/configuration/#limits |
| cURL Too many subrequests by single Worker invocation. To configure this limit, refer to https://developers.cloudflare.com/workers/wrangler/configuration/#limits | cURL Too many subrequests by single Worker invocation. To configure this limit, refer to https://developers.cloudflare.com/workers/wrangler/configuration/#limits |
| cURL Too many subrequests by single Worker invocation. To configure this limit, refer to https://developers.cloudflare.com/workers/wrangler/configuration/#limits | cURL Too many subrequests by single Worker invocation. To configure this limit, refer to https://developers.cloudflare.com/workers/wrangler/configuration/#limits |
| cURL Too many subrequests by single Worker invocation. To configure this limit, refer to https://developers.cloudflare.com/workers/wrangler/configuration/#limits | cURL Too many subrequests by single Worker invocation. To configure this limit, refer to https://developers.cloudflare.com/workers/wrangler/configuration/#limits |
| Normas de cumplimiento | cURL Too many subrequests by single Worker invocation. To configure this limit, refer to https://developers.cloudflare.com/workers/wrangler/configuration/#limits |
 cURL Too many subrequests by single Worker invocation. To configure this limit, refer to https://developers.cloudflare.com/workers/wrangler/configuration/#limits
cURL Too many subrequests by single Worker invocation. To configure this limit, refer to https://developers.cloudflare.com/workers/wrangler/configuration/#limits
- cURL Too many subrequests by single Worker invocation. To configure this limit, refer to https://developers.cloudflare.com/workers/wrangler/configuration/#limits cURL Too many subrequests by single Worker invocation. To configure this limit, refer to https://developers.cloudflare.com/workers/wrangler/configuration/#limits.
cURL Too many subrequests by single Worker invocation. To configure this limit, refer to https://developers.cloudflare.com/workers/wrangler/configuration/#limits. - cURL Too many subrequests by single Worker invocation. To configure this limit, refer to https://developers.cloudflare.com/workers/wrangler/configuration/#limits cURL Too many subrequests by single Worker invocation. To configure this limit, refer to https://developers.cloudflare.com/workers/wrangler/configuration/#limits.
- cURL Too many subrequests by single Worker invocation. To configure this limit, refer to https://developers.cloudflare.com/workers/wrangler/configuration/#limits cURL Too many subrequests by single Worker invocation. To configure this limit, refer to https://developers.cloudflare.com/workers/wrangler/configuration/#limits.
cURL Too many subrequests by single Worker invocation. To configure this limit, refer to https://developers.cloudflare.com/workers/wrangler/configuration/#limits
- cURL Too many subrequests by single Worker invocation. To configure this limit, refer to https://developers.cloudflare.com/workers/wrangler/configuration/#limits cURL Too many subrequests by single Worker invocation. To configure this limit, refer to https://developers.cloudflare.com/workers/wrangler/configuration/#limits.
cURL Too many subrequests by single Worker invocation. To configure this limit, refer to https://developers.cloudflare.com/workers/wrangler/configuration/#limits. - cURL Too many subrequests by single Worker invocation. To configure this limit, refer to https://developers.cloudflare.com/workers/wrangler/configuration/#limits cURL Too many subrequests by single Worker invocation. To configure this limit, refer to https://developers.cloudflare.com/workers/wrangler/configuration/#limits.
- cURL Too many subrequests by single Worker invocation. To configure this limit, refer to https://developers.cloudflare.com/workers/wrangler/configuration/#limits cURL Too many subrequests by single Worker invocation. To configure this limit, refer to https://developers.cloudflare.com/workers/wrangler/configuration/#limits.
cURL Too many subrequests by single Worker invocation. To configure this limit, refer to https://developers.cloudflare.com/workers/wrangler/configuration/#limits
- cURL Too many subrequests by single Worker invocation. To configure this limit, refer to https://developers.cloudflare.com/workers/wrangler/configuration/#limits cURL Too many subrequests by single Worker invocation. To configure this limit, refer to https://developers.cloudflare.com/workers/wrangler/configuration/#limits.
- cURL Too many subrequests by single Worker invocation. To configure this limit, refer to https://developers.cloudflare.com/workers/wrangler/configuration/#limits cURL Too many subrequests by single Worker invocation. To configure this limit, refer to https://developers.cloudflare.com/workers/wrangler/configuration/#limits.
- cURL Too many subrequests by single Worker invocation. To configure this limit, refer to https://developers.cloudflare.com/workers/wrangler/configuration/#limits cURL Too many subrequests by single Worker invocation. To configure this limit, refer to https://developers.cloudflare.com/workers/wrangler/configuration/#limits.
cURL Too many subrequests by single Worker invocation. To configure this limit, refer to https://developers.cloudflare.com/workers/wrangler/configuration/#limits
- cURL Too many subrequests by single Worker invocation. To configure this limit, refer to https://developers.cloudflare.com/workers/wrangler/configuration/#limits cURL Too many subrequests by single Worker invocation. To configure this limit, refer to https://developers.cloudflare.com/workers/wrangler/configuration/#limits.
- Fuente de alimentación: cURL Too many subrequests by single Worker invocation. To configure this limit, refer to https://developers.cloudflare.com/workers/wrangler/configuration/#limits.
- cURL Too many subrequests by single Worker invocation. To configure this limit, refer to https://developers.cloudflare.com/workers/wrangler/configuration/#limits cURL Too many subrequests by single Worker invocation. To configure this limit, refer to https://developers.cloudflare.com/workers/wrangler/configuration/#limits.
❓ Frequently Asked Questions (FAQ)
Q1: What is the difference between a two-zone and a three-zone thermal shock chamber?
A: A two-zone chamber transfers test specimens rapidly between a hot and cold zone via a pneumatic basket (< 10s). A three-zone chamber keeps specimens stationary while damper valves redirect hot, ambient, or cold air. Two-zone models offer faster transition times ideal for severe thermal shock testing.
Q2: What is the temperature recovery time for DERUI thermal shock chambers?
A: The temperature recovery time is ≤ 5 minutes, fully meeting international test standards such as MIL-STD-810G, MIL-STD-883, and JEDEC JESD22-A104.
Q3: Can DERUI customize specimen basket dimensions and lead wire access ports?
A: Yes. We offer fully customizable basket sizes, reinforced tracks for payloads exceeding 50 kg, and large lead wire ports (50 mm, 80 mm, or custom sizes) with silicone plugs for live electrical measurements.
Q4: What warranty and global technical support are provided?
A: We provide a 14-month global warranty, lifetime technical consultation, and fast spare part dispatch. Standard lead time is 25-30 business days. Remote guidance and optional overseas engineer installation are available.
Ready to Upgrade Your Thermal Reliability Testing?
Contact DERUI's application engineering team today to receive a technical proposal, CAD drawing, and factory-direct quotation within 12 hours.